Unveiling the Universe: A Beginner's Guide to Stunning Star Trail Photography
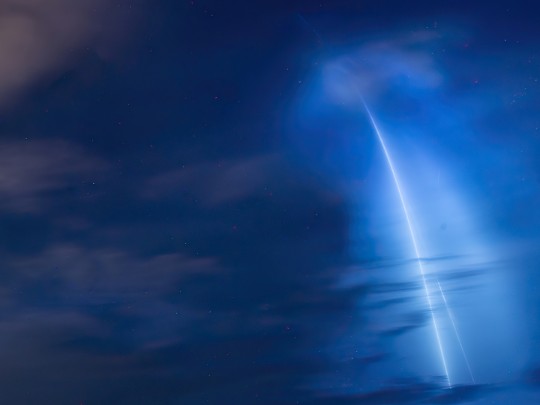
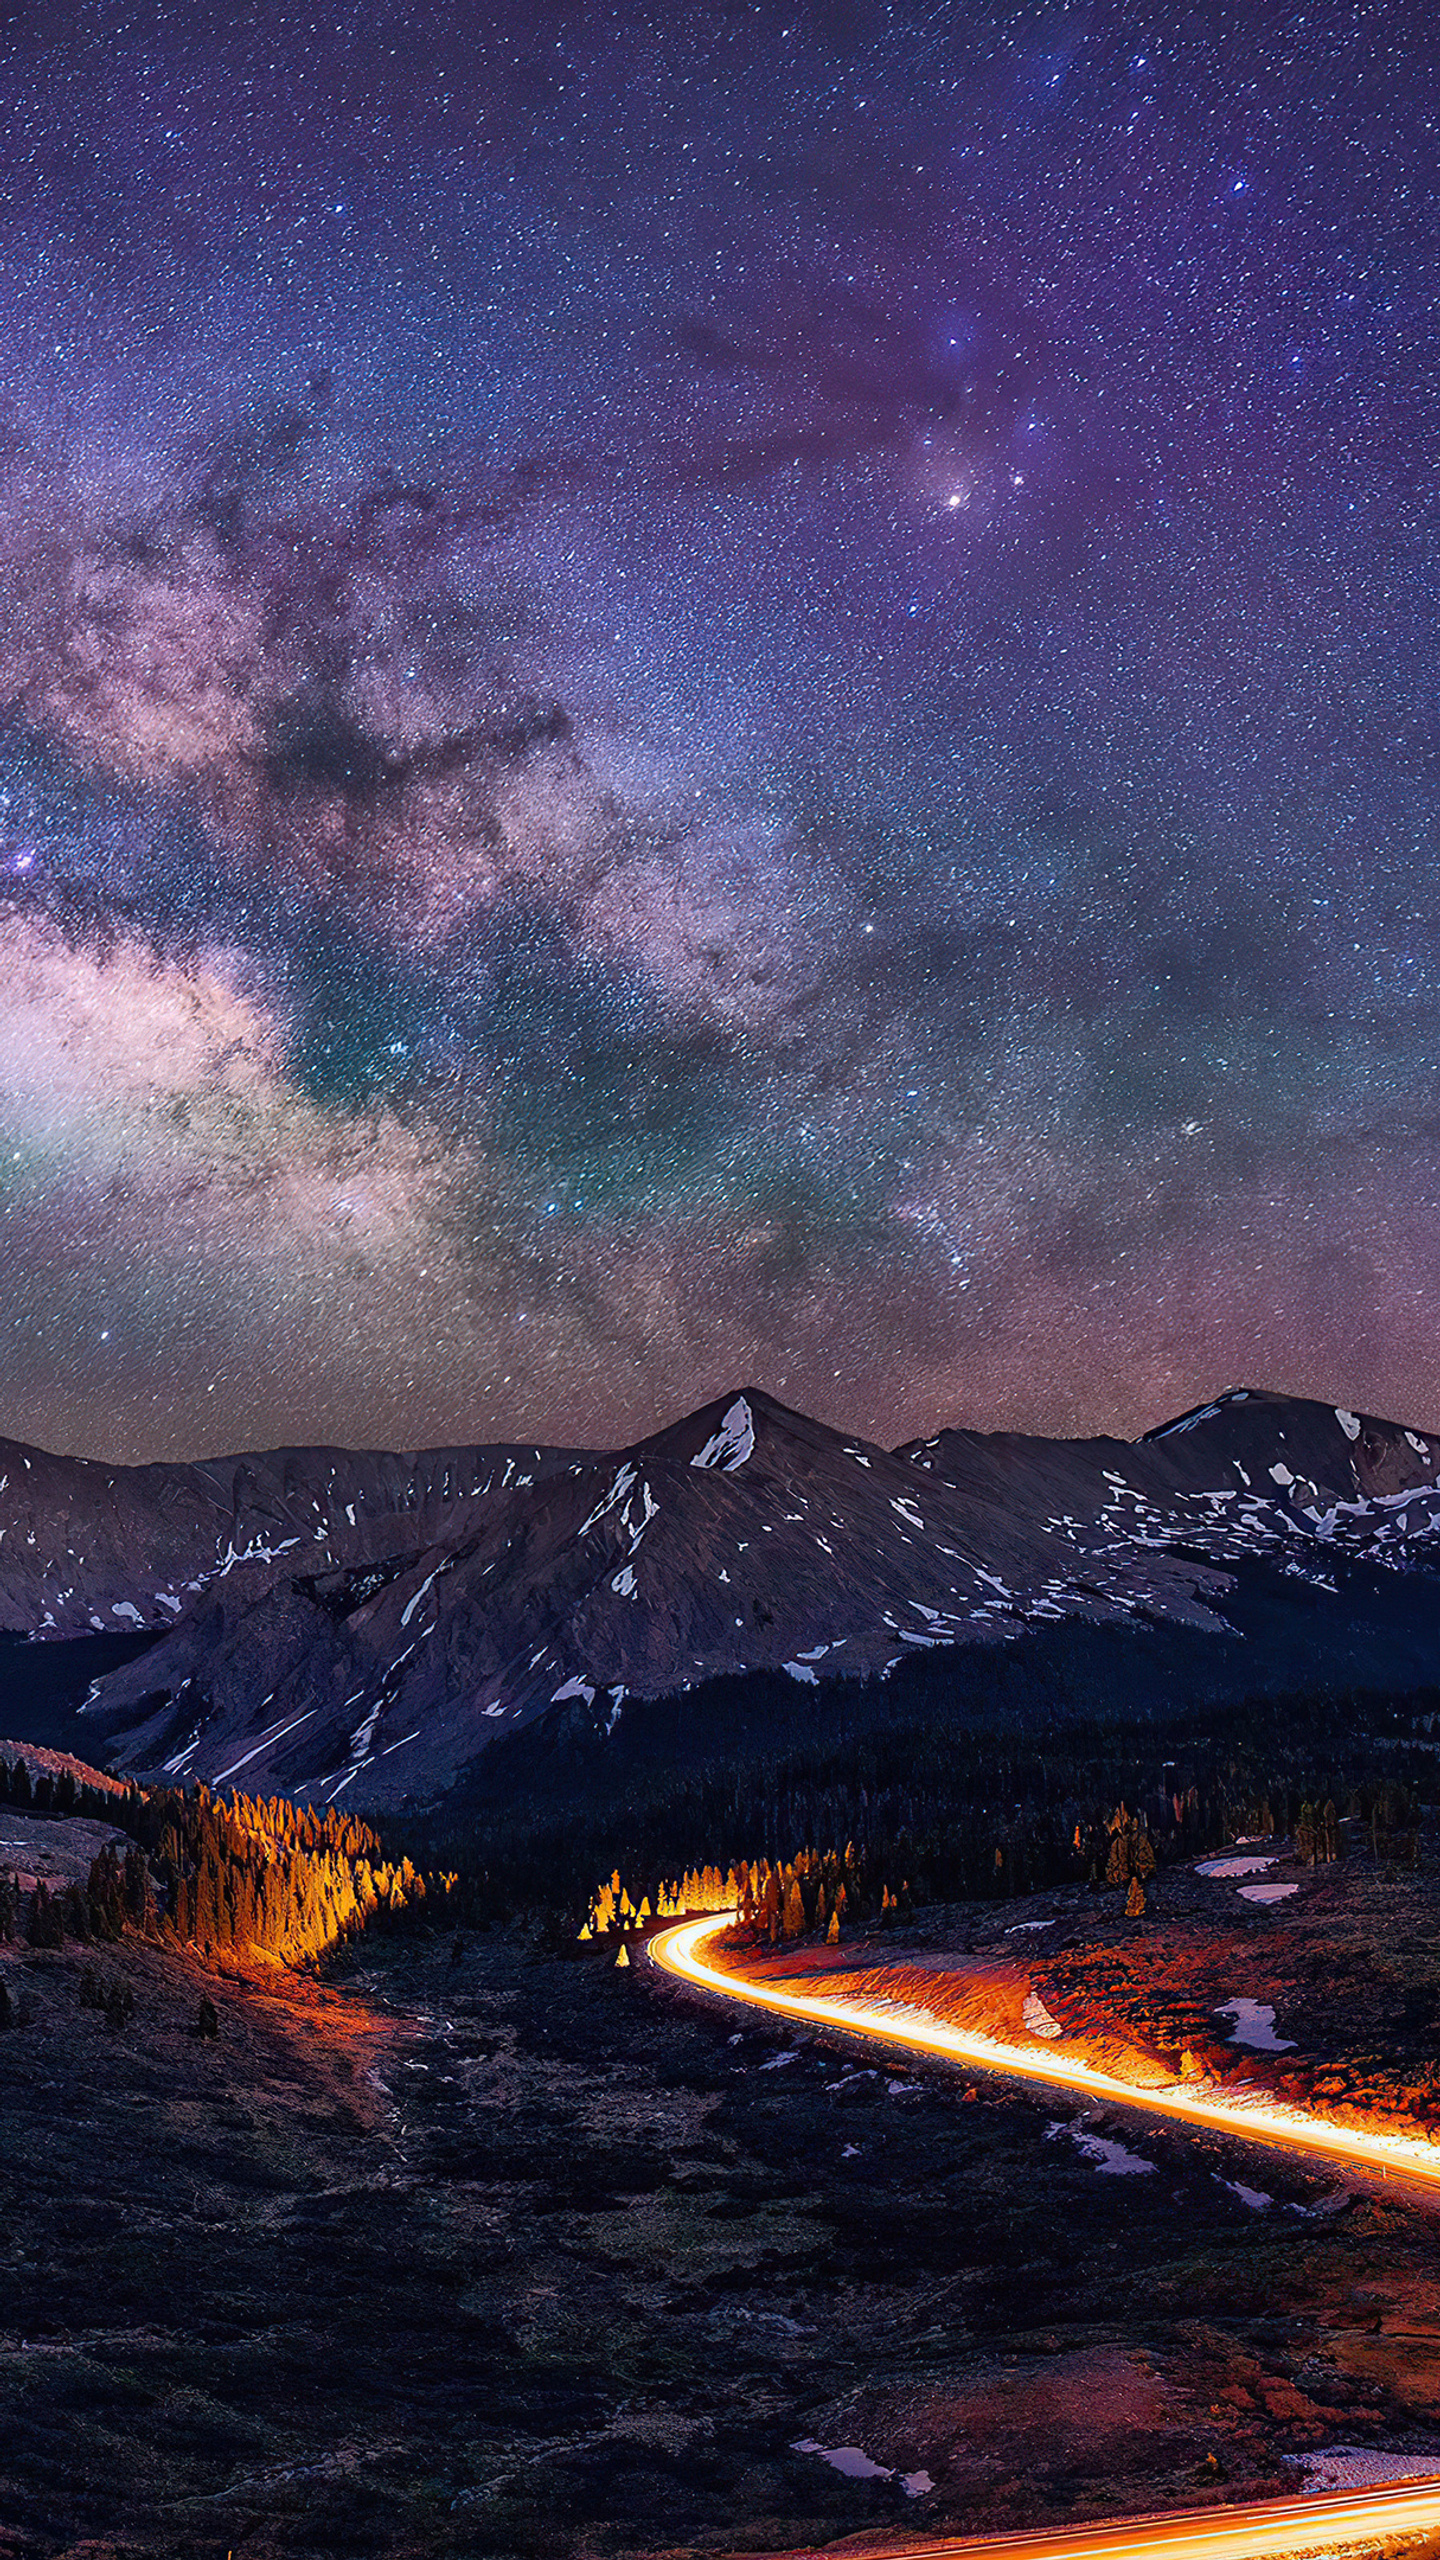
There's a timeless appeal to gazing at the night sky – a vast, dark canvas sprinkled with the brilliance of countless stars. It's a scene that inspires awe and a sense of peace. But what if you could capture that ethereal beauty, transforming the seemingly static stars into graceful, sweeping arcs of light? Welcome to the captivating world of star trail photography!
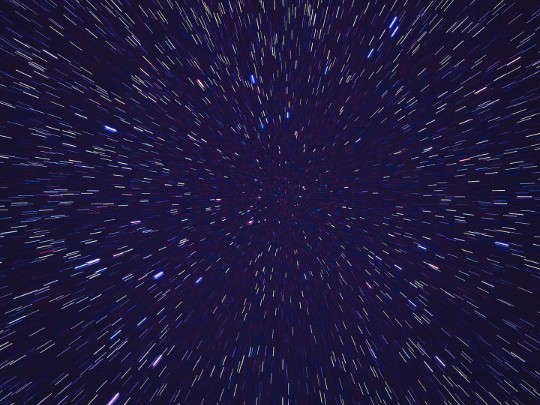
Unlike a typical snapshot, star trail photography is a deliberate, multi-layered process. It involves capturing numerous exposures over several hours, then skillfully layering them together using specialized software. As the Earth rotates, the stars appear to trace circular paths across the sky, and this motion is beautifully recorded as luminous streaks in the final image.
Essential Gear for Star Trail Success
To embark on this photographic journey, you'll need a few key pieces of equipment:
- A Sturdy Tripod: Absolutely essential! Any camera movement during the long exposures will result in blurry streaks, ruining the effect.
- Wide-Angle Lens: A wide-angle lens (around 14-24mm) allows you to capture a broader expanse of the night sky, maximizing the visual impact of your star trails.
- Camera with Manual Controls: You'll need full control over aperture, shutter speed, and ISO to achieve the desired results.
- Remote Shutter Release (Optional): Minimizes camera shake when taking each exposure.
The Process: Capturing the Celestial Dance
Here's a breakdown of the steps involved:
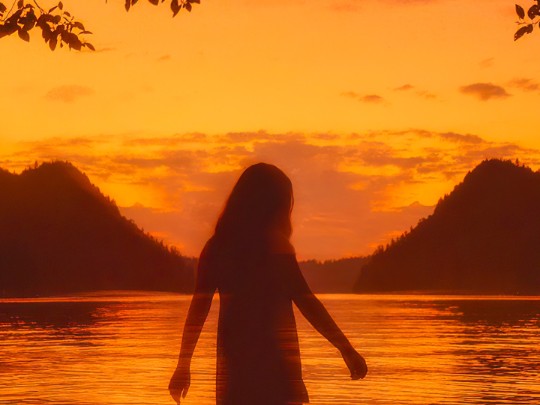
- Location, Location, Location: Find a dark location away from light pollution. The darker the sky, the more stars you'll capture.
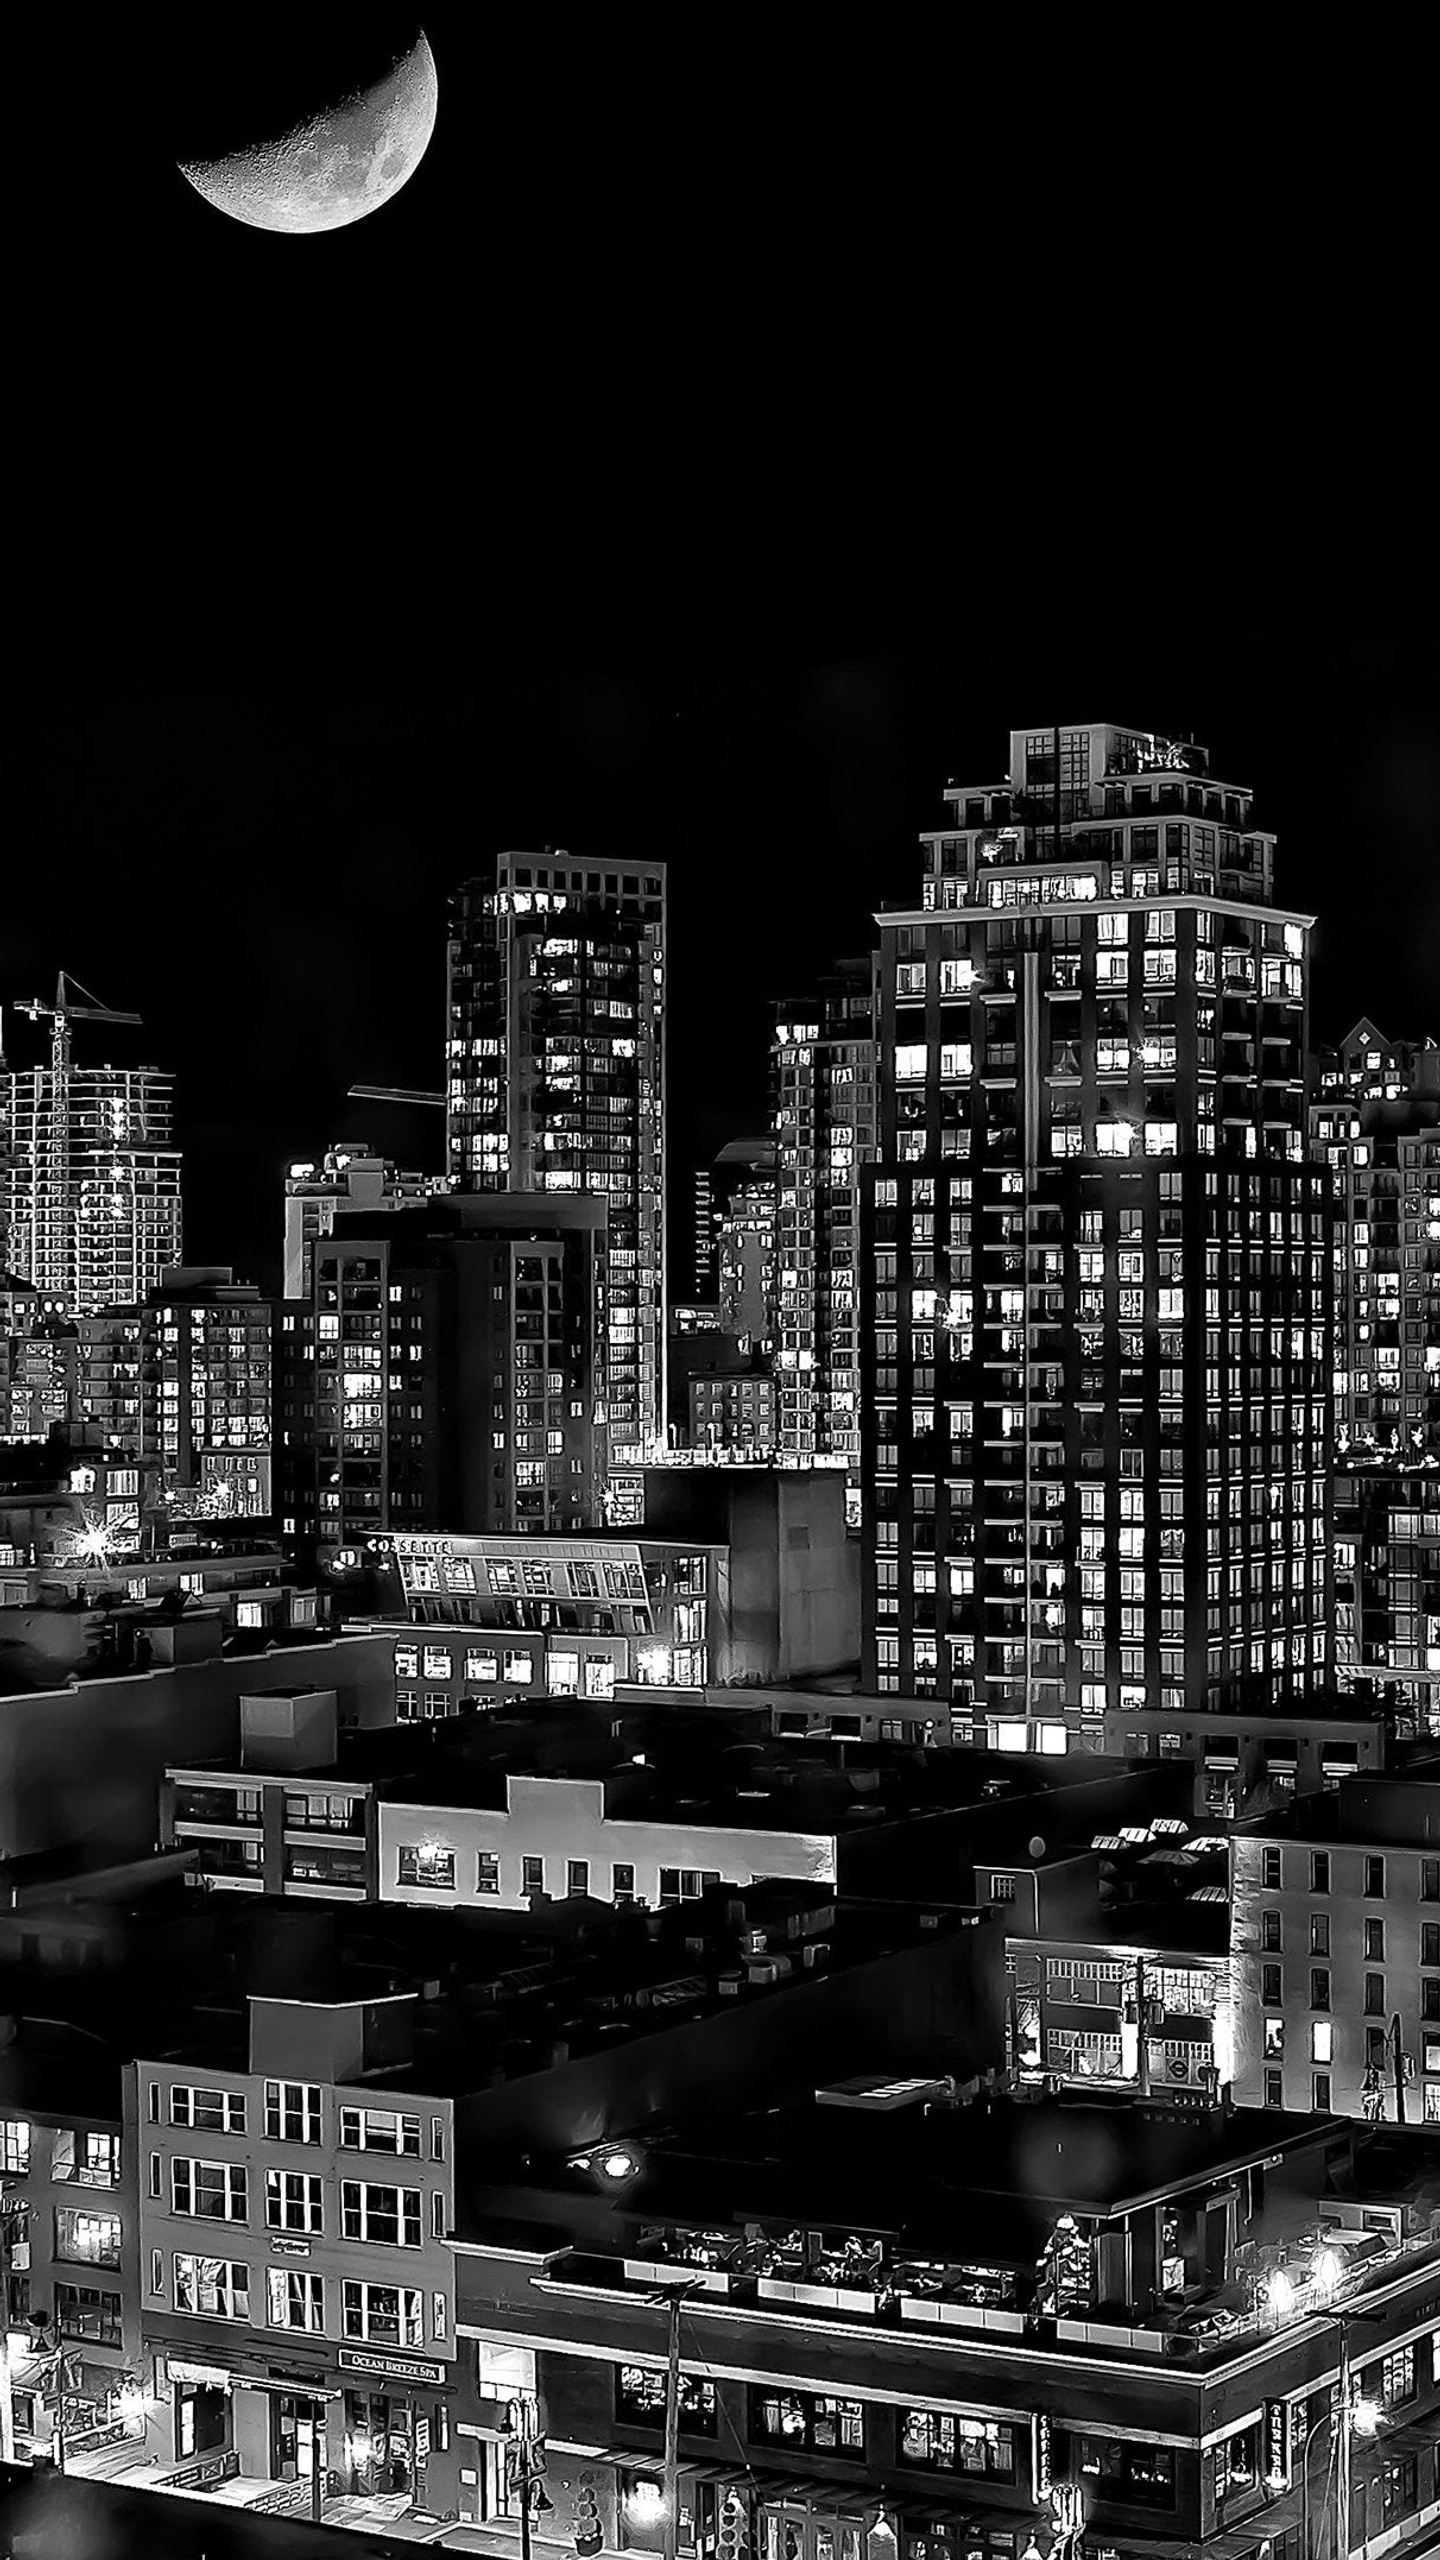
- Compose Your Shot: Frame your scene with interesting foreground elements (trees, mountains, buildings) to add depth and context.
- Set Your Camera: Use a wide aperture (low f-number like f/2.8 or f/4) to let in as much light as possible. Start with an ISO of 800-3200 and adjust as needed. Experiment with exposure times of 30 seconds to several minutes.
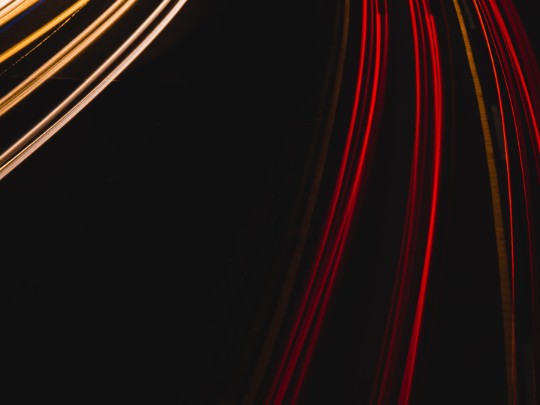
- Shoot a Series of Exposures: Take hundreds of exposures, typically lasting 30 seconds to 5 minutes each, over a period of 1-3 hours.
- Stack the Images: This is where the magic happens! Use software like Adobe Photoshop, StarStaX, or Sequator to align and blend the individual exposures into a single star trail image. These programs automatically detect and combine the star streaks.
Post-Processing: Refining Your Masterpiece
Once the images are stacked, you can further enhance the final result with post-processing. Adjust brightness, contrast, and color balance to bring out the best in your star trail photograph. Remove any unwanted artifacts or noise.
Star trail photography is a rewarding blend of patience, technical skill, and artistic vision. It's a unique way to connect with the vastness of the universe and create breathtaking images that capture the beauty of the night sky. So, grab your gear, find a dark spot, and start chasing the cosmos!